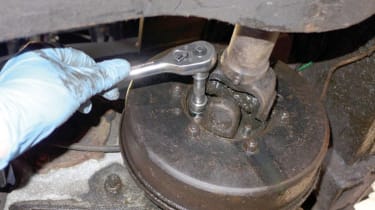
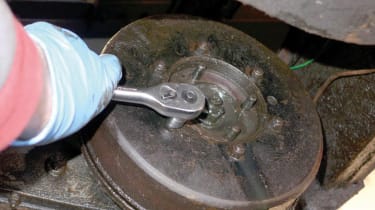
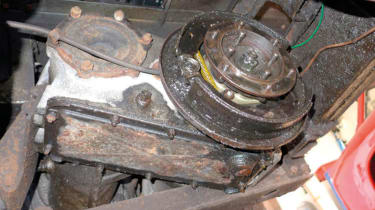
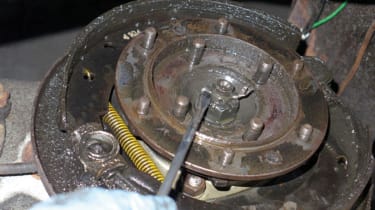
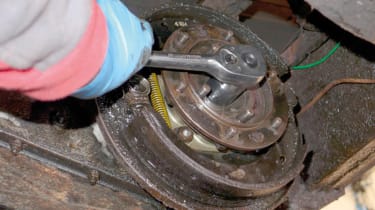
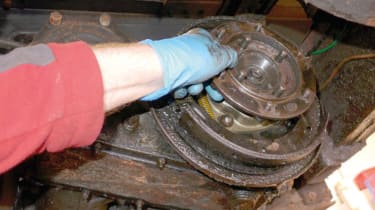
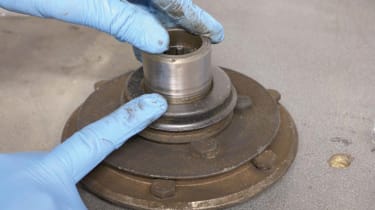
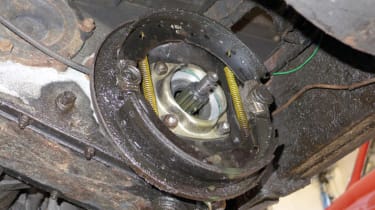
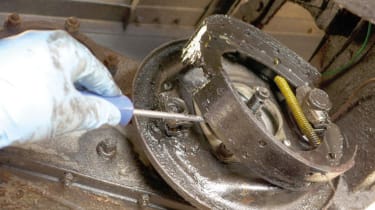
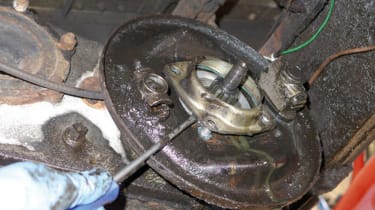
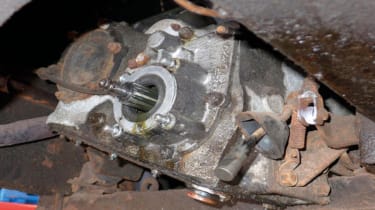
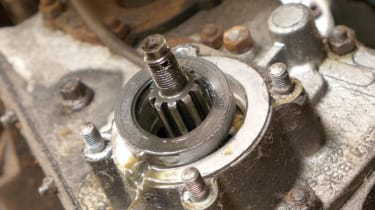
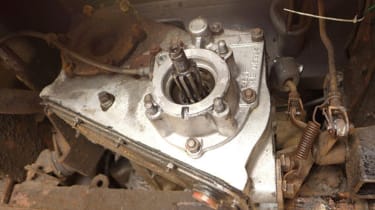
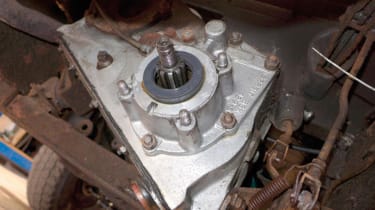
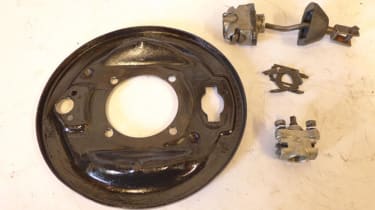
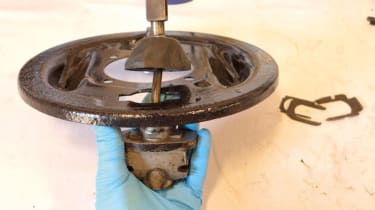
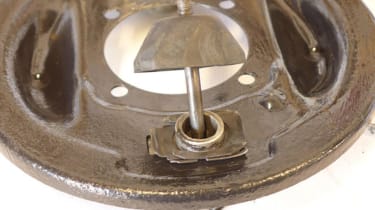
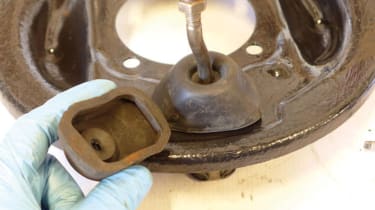
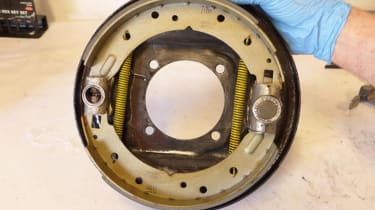
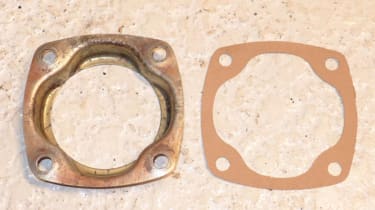
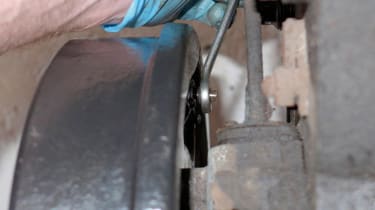
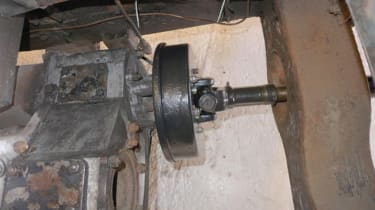
How to replace your transfer box rear oil seal - pictures
- Skip advertAdvertisement - Gallery continues below
- Skip advertAdvertisement - Gallery continues below
- Skip advertAdvertisement - Gallery continues below
- Skip advertAdvertisement - Gallery continues below
- Skip advertAdvertisement - Gallery continues below


- Skip advertAdvertisement - Gallery continues below
- Skip advertAdvertisement - Gallery continues below
- Skip advertAdvertisement - Gallery continues below
- Skip advertAdvertisement - Gallery continues below
- Skip advertAdvertisement - Gallery continues below
- Skip advertAdvertisement - Gallery continues below
- Skip advertAdvertisement - Gallery continues below
- Skip advertAdvertisement - Gallery continues below

- Skip advertAdvertisement - Gallery continues below
- Skip advertAdvertisement - Gallery continues below
- Skip advertAdvertisement - Gallery continues below
Recommended
Classic Land Rovers get all-electric power thanks to Inverted
Classic Land Rovers get all-electric power thanks to Inverted
Inverted has expanded its operation to include Land Rover’s most iconic car
Best new cars coming soon: all the big new car launches due in 2025, 2026 and beyond
Best new cars coming soon: all the big new car launches due in 2025, 2026 and beyond
These are the most important new cars headed our way, from brands including Audi, BMW, Dacia, Ferrari, Ford, Skoda and more
Jaguar Land Rover stops car exports to the US in wake of Trump Tariffs
Jaguar Land Rover stops car exports to the US in wake of Trump Tariffs
JLR announced a four-week pause on shipments of all its cars to the US as it comes to terms with 25% tariffs.
Land Rover’s theft problems subside as stolen car numbers hit three-year low
Land Rover’s theft problems subside as stolen car numbers hit three-year low
A package of measures implemented by Jaguar Land Rover to address the issue of its cars being stolen seems to be doing the trick
Most Popular
EV affordability alarm! Running costs are £6k higher than for petrol cars, say car clubs
EV affordability alarm! Running costs are £6k higher than for petrol cars, say car clubs
Running costs for car share club EVs are £6k higher than ICE equivalents according to new data
New BMW 1 Series and electric i1 to target younger drivers with bold design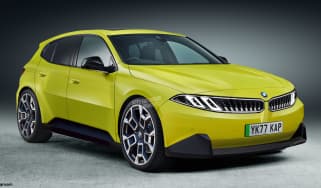
New BMW 1 Series and electric i1 to target younger drivers with bold design
The BMW 1 Series is set for a shake-up, with a Neue Klasse front end and a choice of hybrid or battery electric powertrains when it arrives in showroo…
All-new Hyundai Elexio: Bizarre design, huge 435-mile electric range
All-new Hyundai Elexio: Bizarre design, huge 435-mile electric range
The Elexio is Hyundai’s latest all-electric SUV, but this one has been designed exclusively for China