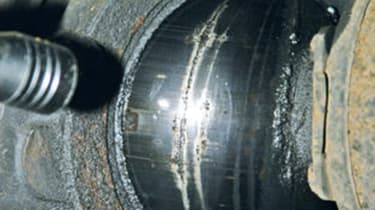
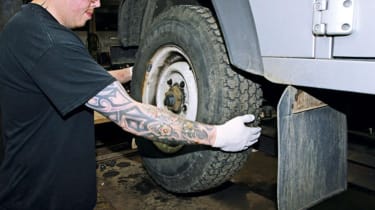
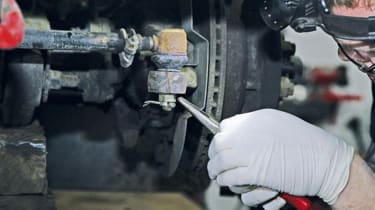
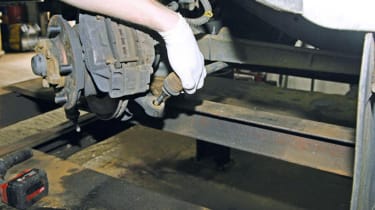
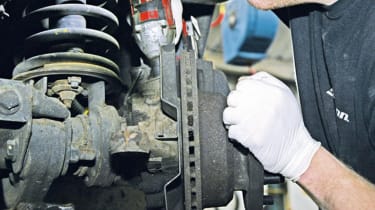
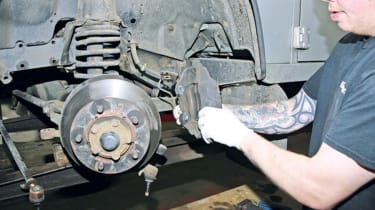
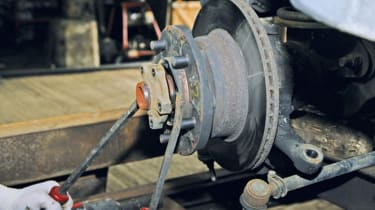
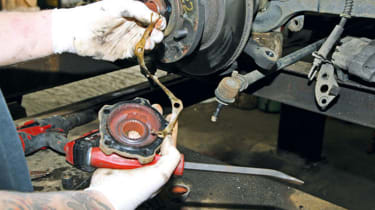
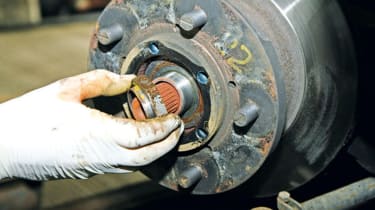
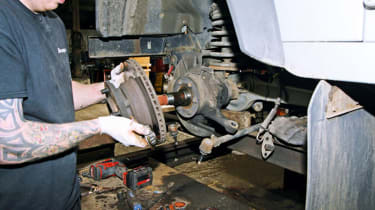
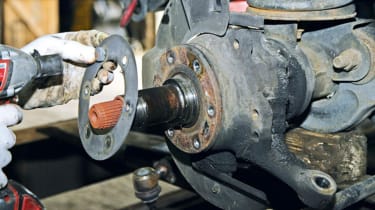
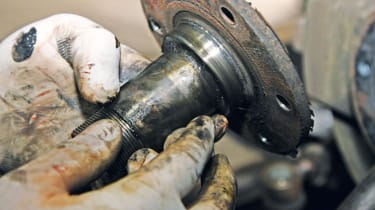
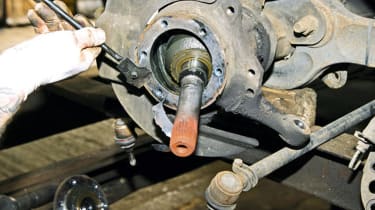
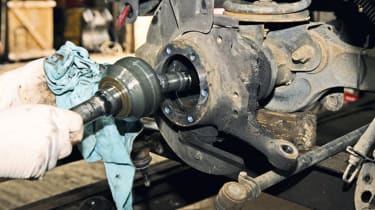
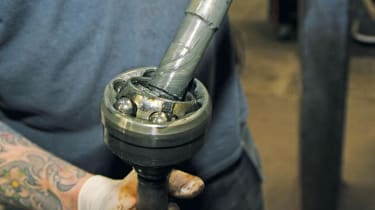
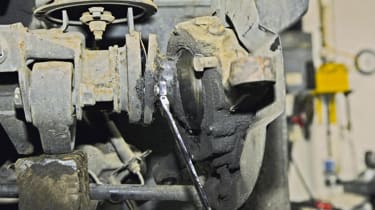
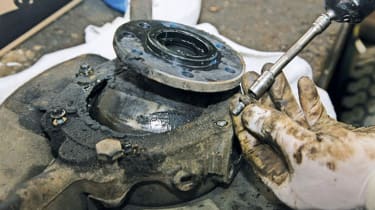
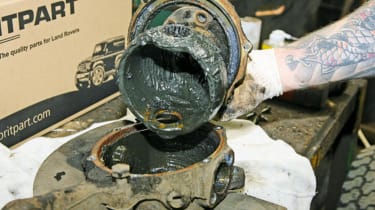
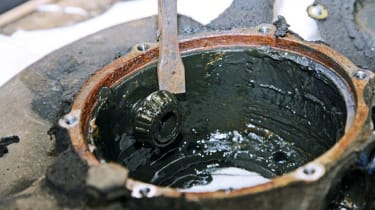
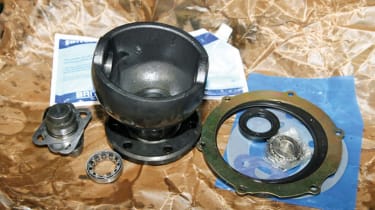
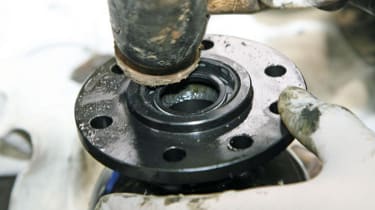
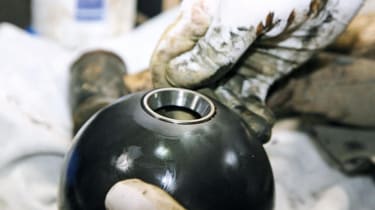
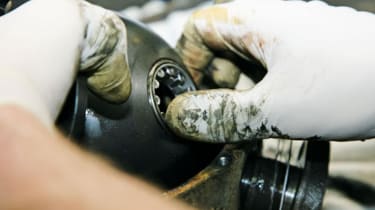
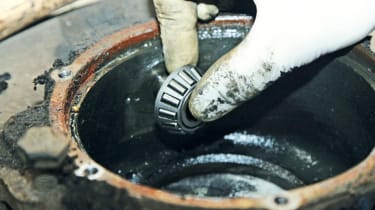
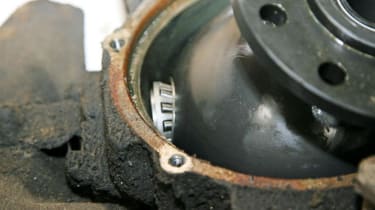
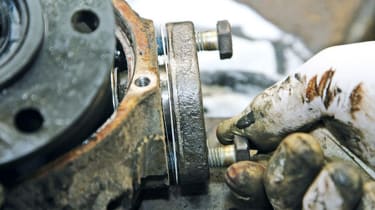
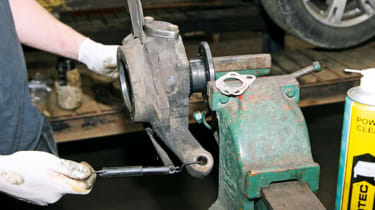
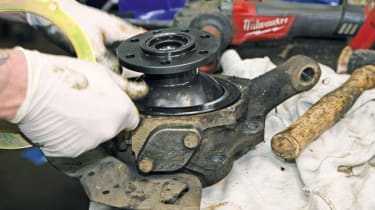
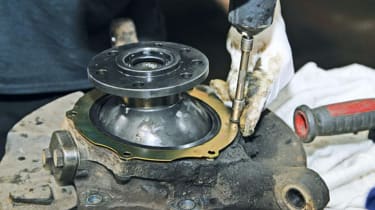
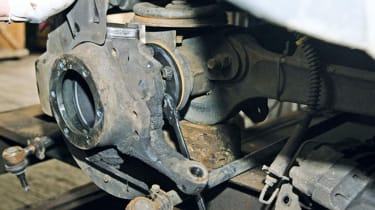
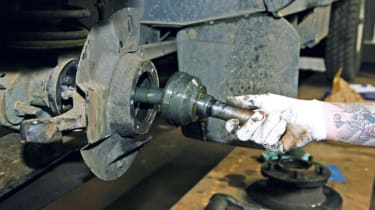
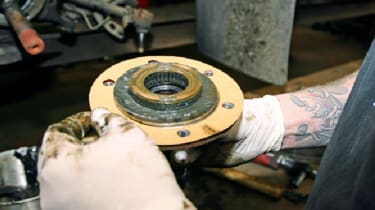
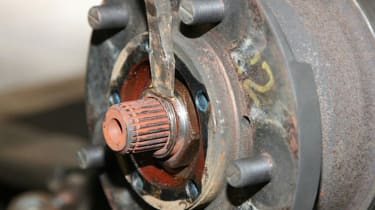
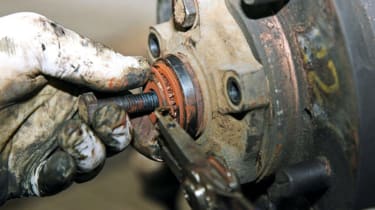
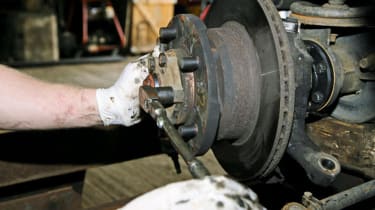
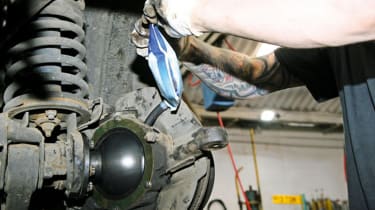
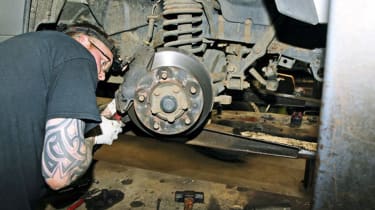
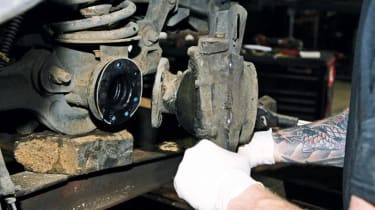
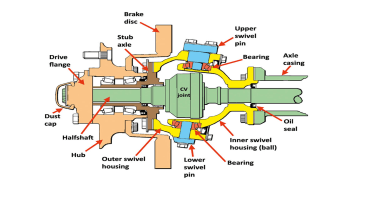
How to overhaul or replace steering steering swivels - pictures


Recommended
New Range Rover SV Ultra is the brand’s most luxurious, advanced and exclusive car ever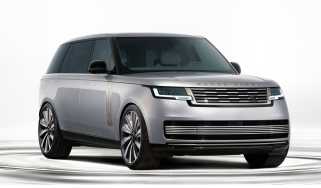
New Range Rover SV Ultra is the brand’s most luxurious, advanced and exclusive car ever
The new Range Rover SV Ultra is available by invitation only, but the new Westminster Edition is open to anyone… with at least £115k to spend
Best luxury SUVs 2026
Best luxury SUVs 2026
Luxury SUVs combine the sophistication of a luxury car with the sheer practicality of an SUV. Here’s our pick of the current crop
Used Range Rover (Mk5, 2021-date) buyer’s guide: top of the luxury SUV list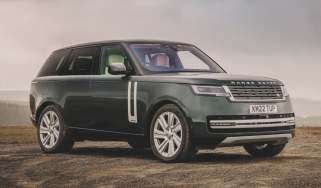
Used Range Rover (Mk5, 2021-date) buyer’s guide: top of the luxury SUV list
A full used buyer's guide on the Range Rover Mk5 that's been on sale in the UK since 2021
New Range Rover facelift on the way: EV to come first with the old look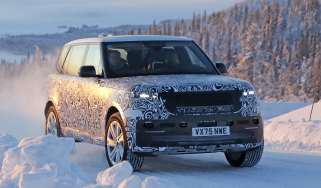
New Range Rover facelift on the way: EV to come first with the old look
Facelifted Range Rover has been caught testing, but won’t arrive until after the Electric version arrives later this year
Most Popular
New Land Rover Defender Sport: baby SUV hedges bets with EV and hybrid power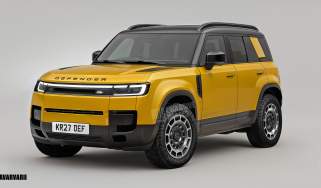
New Land Rover Defender Sport: baby SUV hedges bets with EV and hybrid power
The new Land Rover Defender Sport will sit below the existing Defender in both size and price, and our exclusive image previews how it could look
New Honda Super-N 2026 review: little EV is fun and full of character
New Honda Super-N 2026 review: little EV is fun and full of character
Honda's quirky Super-N is compromised on paper, but in reality it's a fun and efficient small EV
New BMW i3 on sale now: electric 3 Series finally ready to take on Tesla Model 3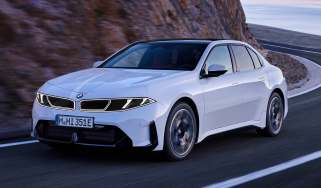
New BMW i3 on sale now: electric 3 Series finally ready to take on Tesla Model 3
Are you watching Tesla, Polestar, Audi and Mercedes? The new BMW i3 is here setting new standards with its huge 563-mile range