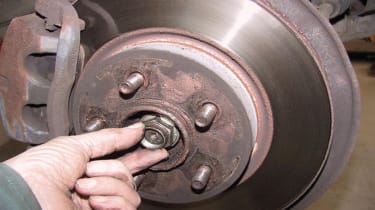
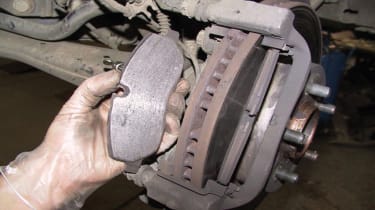
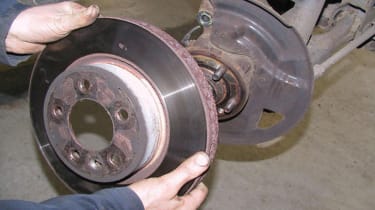
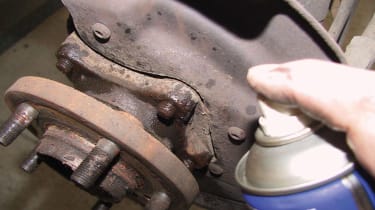
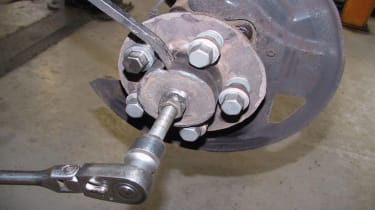
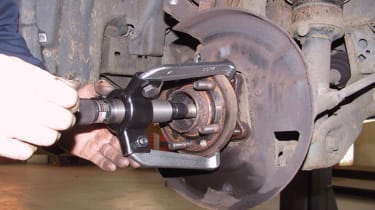
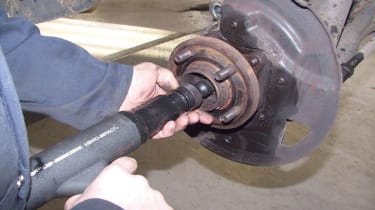
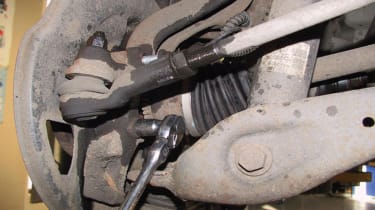
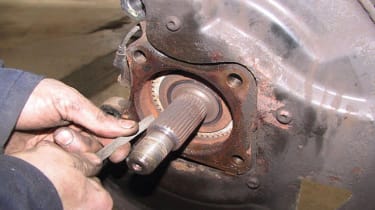
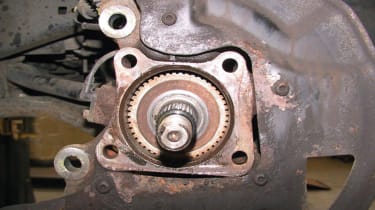
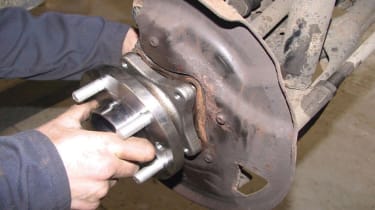
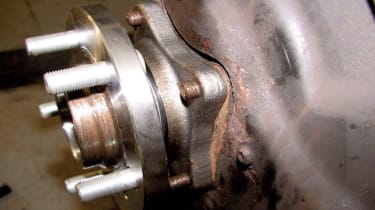
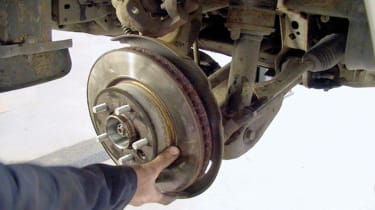
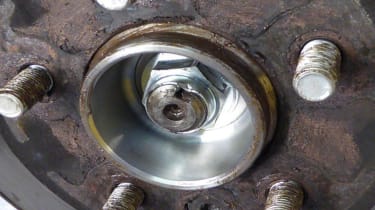
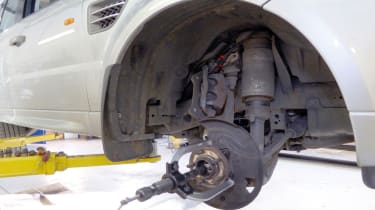
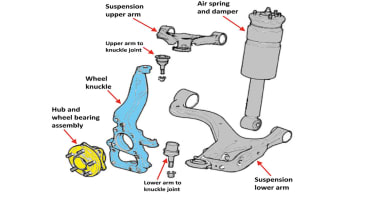
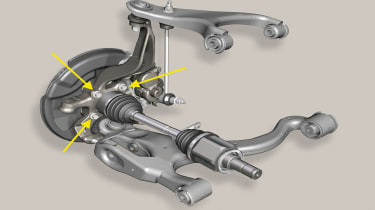
How to replace a D3 front hub bearing - pictures


Most Popular
New Land Rover Defender Sport: baby SUV hedges bets with EV and hybrid power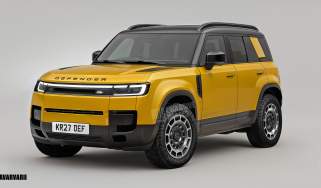
New Land Rover Defender Sport: baby SUV hedges bets with EV and hybrid power
The new Land Rover Defender Sport will sit below the existing Defender in both size and price, and our exclusive image previews how it could look
New Honda Super-N 2026 review: little EV is fun and full of character
New Honda Super-N 2026 review: little EV is fun and full of character
Honda's quirky Super-N is compromised on paper, but in reality it's a fun and efficient small EV
New BMW i3 on sale now: electric 3 Series finally ready to take on Tesla Model 3
New BMW i3 on sale now: electric 3 Series finally ready to take on Tesla Model 3
Are you watching Tesla, Polestar, Audi and Mercedes? The new BMW i3 is here setting new standards with its huge 563-mile range